How to Fix a Pixelated Image
Why photos turn blocky, what manual sharpening can actually do about it, and how AI restoration rebuilds the detail that's gone. When you're ready, fix yours right on this page — free, no signup.
Pixelation happens when an image doesn't have enough pixels for the size it's displayed at — the square grid you see is the image's own pixels, enlarged until each one is visible. Editors like Photoshop can soften that grid, but no amount of sharpening can bring back detail that was never captured in the first place.
That's why the practical fix today is AI restoration: a model trained on millions of sharp photographs infers what the missing detail most plausibly looked like and redraws the image at a higher resolution. The tool right below does exactly that, free in your browser — or skip past it to the guide if you'd rather understand what went wrong with your image first.
The AI way: reconstruct instead of sharpen
Generative restoration models are trained on millions of paired sharp-and-degraded photographs, so they learn what real-world detail looks like at every scale — how skin texture behaves, how letters are shaped, how foliage catches light. Given a pixelated input, the model doesn't stretch pixels; it redraws the image at a higher resolution, choosing the reconstruction that best matches both your input and everything it knows about sharp images.
Two honest notes. First, this is inference, not recovery — the output is the most plausible sharp version, not a certified copy of reality. Second, it works dramatically better than any manual method on exactly the cases explained further down this page: low-resolution enlargements, compression artifacts, and recompressed photos.
On this page, Standard cleans compression noise and upscales small images to at least a 1024px long edge — free, two runs a day without an account. HD does full generative reconstruction and is the tier to pick when faces or fine texture matter.
- 01
Upload the pixelated image
Drop in a JPG, PNG or WebP up to 10MB — or paste it from the clipboard. The worst copy you have is fine; that's the point.
- 02
Pick a quality tier
Standard is free and handles most compression damage. HD rebuilds faces and fine detail and uses credits.
- 03
Compare and download
Drag the before/after slider to check the result, then download the full-resolution file. No watermark.
Drop a pixelated image here
JPG, PNG or WebP · up to 10MB
or paste from clipboard (⌘V)
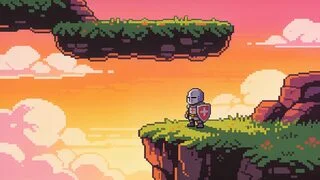
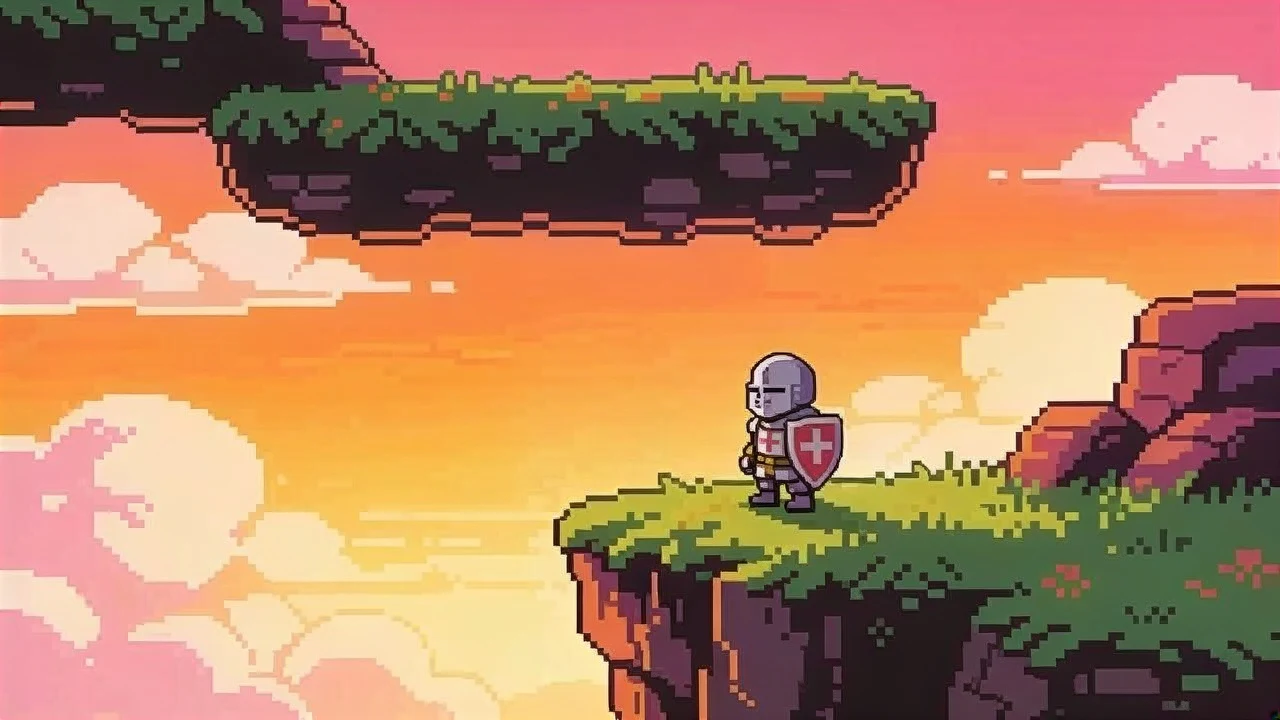
A 320×180 game capture upscaled to 1280×720 by the Standard tier — the pixel grid is gone and edges stay sharp instead of smearing. Drag the handle to compare.
Why images get pixelated in the first place
Three different problems produce the same blocky look, and they respond to different fixes — so it's worth knowing which one you have.
Too few pixels, stretched too far
A 144×144 avatar shown at 600×600 has to fill sixteen screen pixels with every real one. Plain resizing can only repeat pixels (nearest-neighbor — hard visible squares) or average neighbors together (bilinear/bicubic — a soft blur). Neither adds information, so the enlargement is blocky, blurry, or both. This is the classic case of a profile photo, a thumbnail saved instead of the full image, or a small crop blown up.
JPEG compression artifacts
JPEG compresses images in 8×8-pixel tiles, discarding the fine detail inside each tile first. At aggressive quality settings neighboring tiles stop lining up, so you get a faint checkerboard across smooth areas and 'ringing' halos around sharp edges — visible blockiness even when the resolution is fine. Screenshots of screenshots and images downloaded from social feeds usually have this problem, not a resolution problem.
Generation loss from resending
WhatsApp, Messenger, WeChat and most chat apps both shrink and recompress every photo they deliver. Forward the same image a few times and it has been resized and re-encoded repeatedly, stacking the two problems above on top of each other. This is why a photo that has made a few round trips between phones looks far worse than the original ever did.
What you can do by hand — and where it stops
Manual tools redistribute the pixels you already have. Used well, they make pixelation less obvious; they cannot recover detail.
Go back to the source
The only true fix. If you took the photo, re-export it from the camera roll or RAW file. If someone sent it, ask them to share it as a file or document instead of a photo — that skips the chat app's recompression entirely and often solves the problem in one step.
Photoshop
Run Filter → Noise → Reduce Noise to melt JPEG tile edges, resample upward with Image Size using 'Preserve Details 2.0', then finish with a restrained Smart Sharpen pass. This smooths the block grid and crisps existing edges, but surfaces come out subtly 'painted' — fine texture like skin, hair and fabric stays missing because it was never in the file.
GIMP (free)
Scale the image up with the LoHalo or NoHalo interpolator, apply a mild 0.5px Gaussian blur to dissolve the visible grid, then bring edges back with Unsharp Mask (low radius, moderate amount). The same ceiling applies: blockiness fades, real detail does not return.
All three techniques rearrange existing pixels. If the detail you care about — a face, a texture, a line of text — isn't in the file anymore, hand editing cannot reconstruct it. That's the gap the AI restoration tool above fills.
Which method should you use?
| Method | Removes blockiness | Restores real detail | Cost | Best for |
|---|---|---|---|---|
| Re-export the original | Completely | Yes — it is the original | Free | Whenever the source file still exists |
| Photoshop / GIMP sharpening | Partly | No | Free – $23/mo | Mild artifacts, print touch-ups |
| Plain upscaling (Lanczos, browser resize) | No — it enlarges the blocks | No | Free | Nothing — avoid for pixelated sources |
| AI restoration (this tool) | Completely | Plausible reconstruction | Standard free · HD in credits | Low-res photos, avatars, old scans, screenshots |
What honestly can't be fixed
Deliberately obscured content
If part of an image was intentionally blocked out to hide information, that information is gone — the pixels that stored it no longer exist in the file. This tool does not attempt to recover deliberately obscured content, and you should be skeptical of any tool that claims it can.
Very small text
Text that occupies only a few pixels per letter comes back readable-looking, but the model is inferring letter shapes. Treat reconstructed text as a good guess, never as evidence — for critical text, get a better source copy.
Almost nothing left
An image reduced to something like 32×32 has lost too much. The HD tier will still return a clean, plausible picture, but 'plausible' is doing the heavy lifting — identity-level details can differ from the true original. Results are strongest from roughly 100px upward.
Fixing pixelated images: FAQ
Ready to fix yours?
Jump back up to the tool, or start from the homepage version — same engine, same free tier.